I’m finally seeing the light at the end of the renovation tunnel. Tiling is done for the most part, except for some grouting and sealing. A lot of it is marble which is very porous. I’ve learned a lot and share all my dirty secrets tips in this installment, Master Bath Renovation Part Three.
FIRST TIP: ALL NEW TILE AND GROUT SHOULD BE SEALED BEFORE FIRST USE, BUT ESPECIALLY STONE.
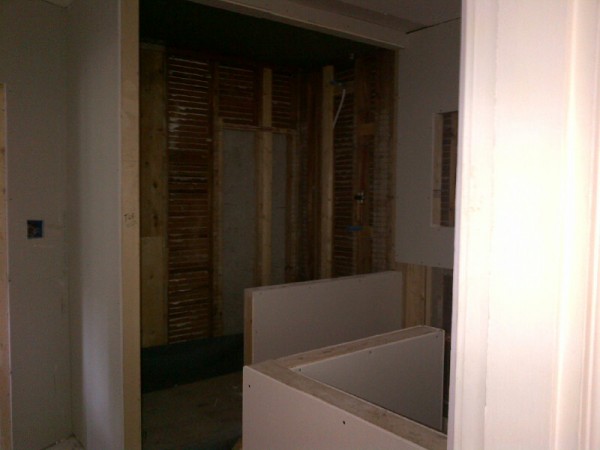
I prefer an unenhanced sealer for stone, as it doesn’t change the color. Used to be scared of marble until I did a small powder room floor (3’x5′) five years ago. I sealed it and never looked back. Here’s the shower area in progress…
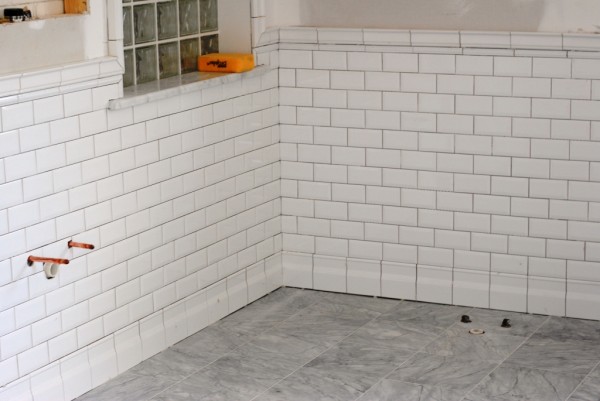
And here’s the tiled shower area now.
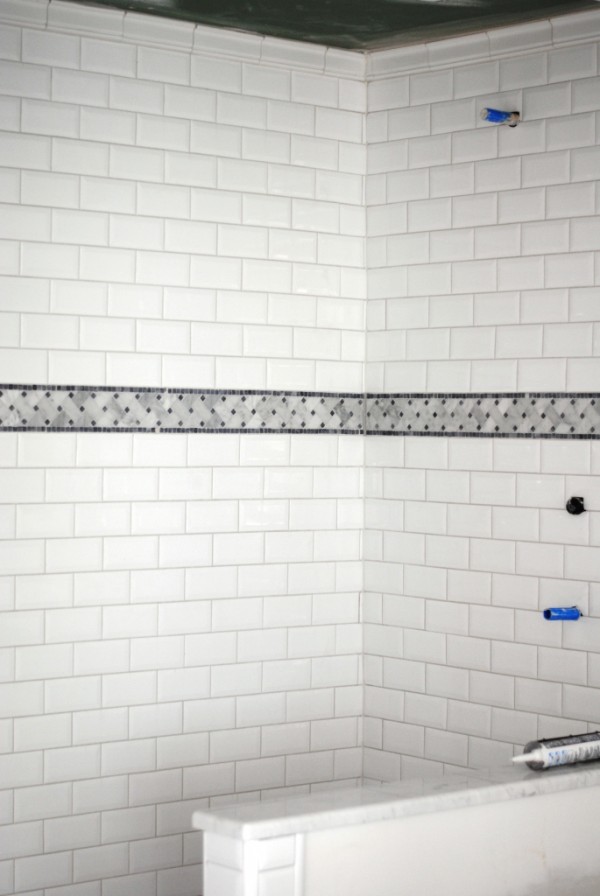
Listello tile below is usually placed at eye level for decorative purposes.
SECOND TIP: THIS IS A GOOD PLACE TO SPLURGE, AS IT IS NOT A LOT OF LINEAR FOOTAGE.
Feature a more expensive tile or stone in the decorative strip amongst a cheaper per square foot tile. In this case, a beveled, classic subway tile was used as the overall tile.
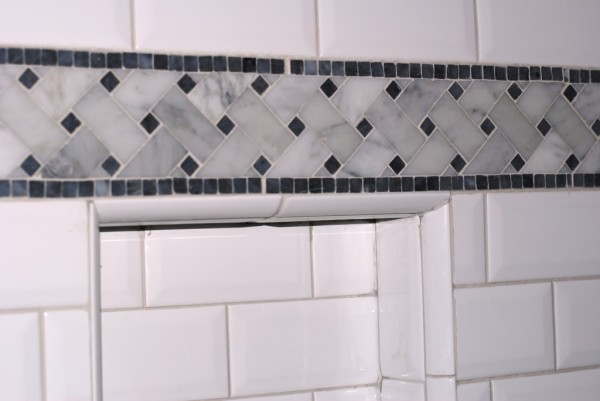
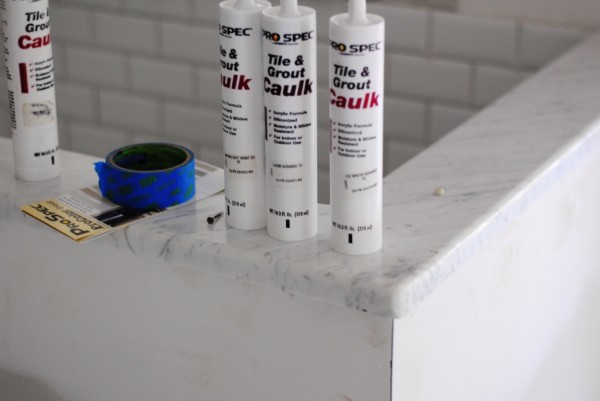
We have several ledges and knee walls in this bathroom and we installed carerra marble pieces for the top parts of these areas.
THIRD TIP: HAVE STONE GUY USE SCRAP PIECES TO CUT THESE LEDGES OR OTHER SMALL JOBS.
It will generally be cheaper/square foot to use scraps pieces than cutting into a new slab of stone.
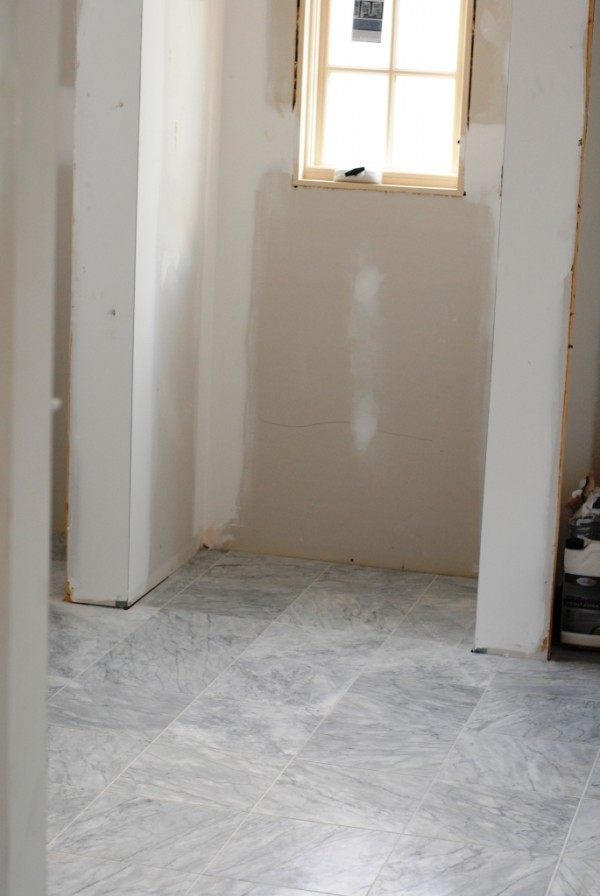
TIP FOUR: FLOORS ARE “TECHNICALLY” NOT CARERRA WHICH ONLY COMES FROM A SPECIFIC AREA IN ITALY.
These are a cheaper sourced version and about half the cost of real carerra.
TIP FIVE: ADD NATURAL LIGHT WHERE THERE IS NONE.
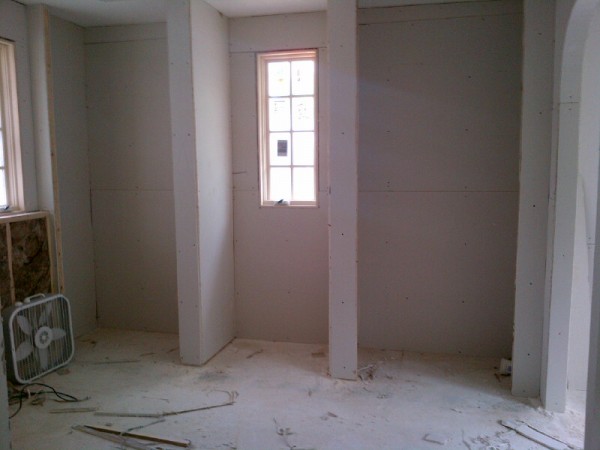
We are reusing/keeping the glass block wall from our original renovation. The shower side of the bathroom is an interior room and had no light. When we did demo ten years ago we discovered a former window opening when the bath did have an exterior wall. Prior homeowners added a den adjacent to bath, eliminating the window. We added the glass block to flood light into our interior bathroom on the shower side. For this renovation we similarly added a ledge to the other side for soaps and pretties above the tub. Tons of windows are on also on this side as we started from scratch here.
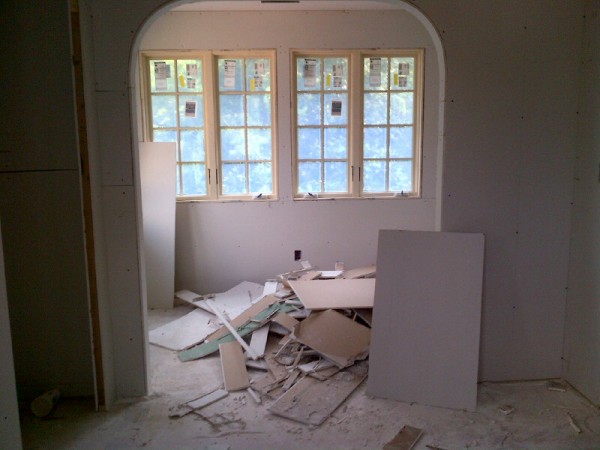
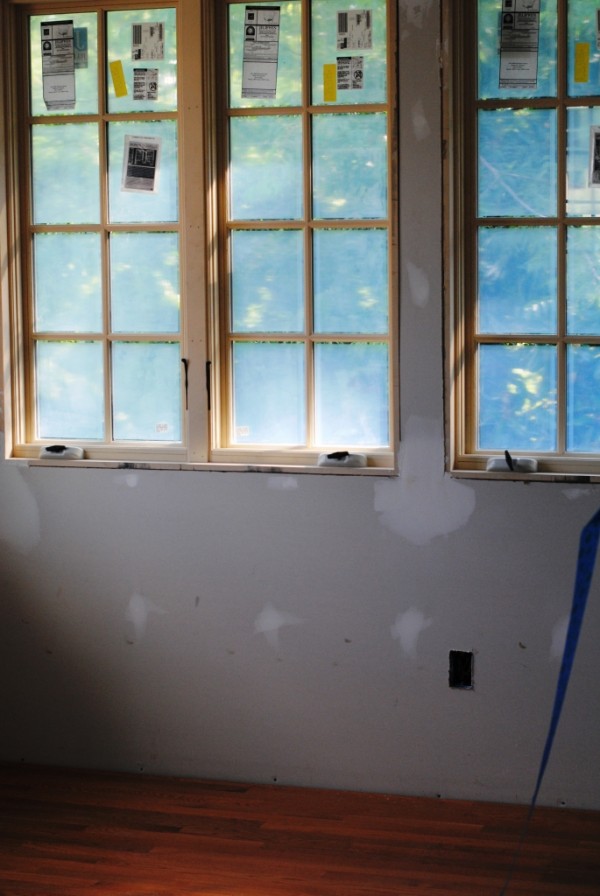
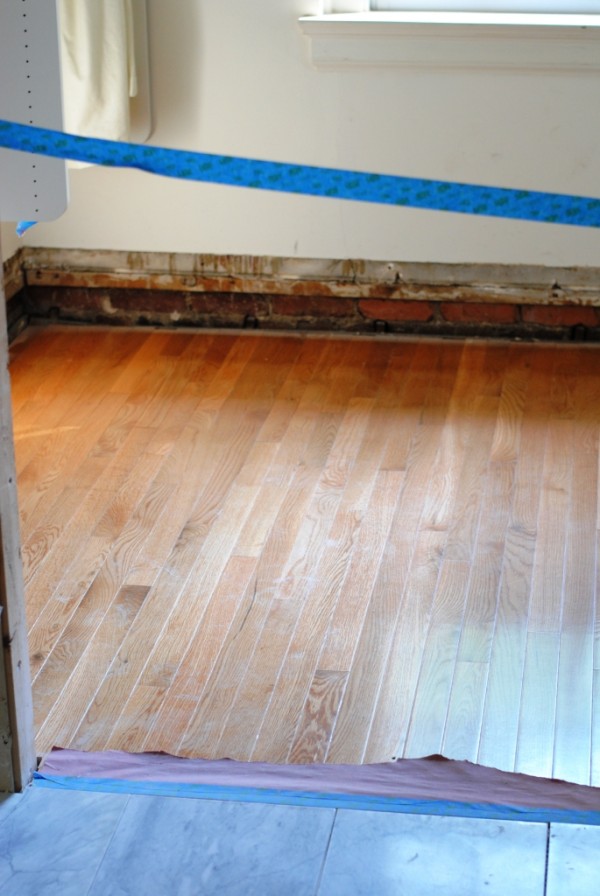
The floors in new den area and old closet were added. They are engineered floors but perfectly match our old wood floors in the rest of the house.
FINAL TIP: ENGINEERED FLOORS ARE A GREAT OPTION IN LOW TRAFFIC AREAS (I.E. MASTER DEN AND MASTER CLOSET), ESPECIALLY WITH ALL THE STYLES AVAILABLE NOW.
Still prefer real wood in high traffic areas as they can be sanded again and again. The closet floor originally stepped down six inches. Contractor raised them, so they are level with the marble, eliminating one of the many “quirks” in this old house.
Trim work, paint, installation of bath fixtures. I’m guessing the final renovation revealed in four weeks. Crossing my fingers and toes and eyes.


Leave a Reply