Let’s be honest…who doesn’t love a good gallery wall?
Whether full of family photos, funky flea market finds, or original art, they always catch the eye and are a great way to fill empty wall space (not to mention they’re all over the pages of every home magazine and Pinterest board out there). How to create a gallery wall? How do you choose what to include? In which configuration do you hang them?
First. Decide upon some sort of consistent thread that will weave everything together.
Maybe they all have the same theme like this…
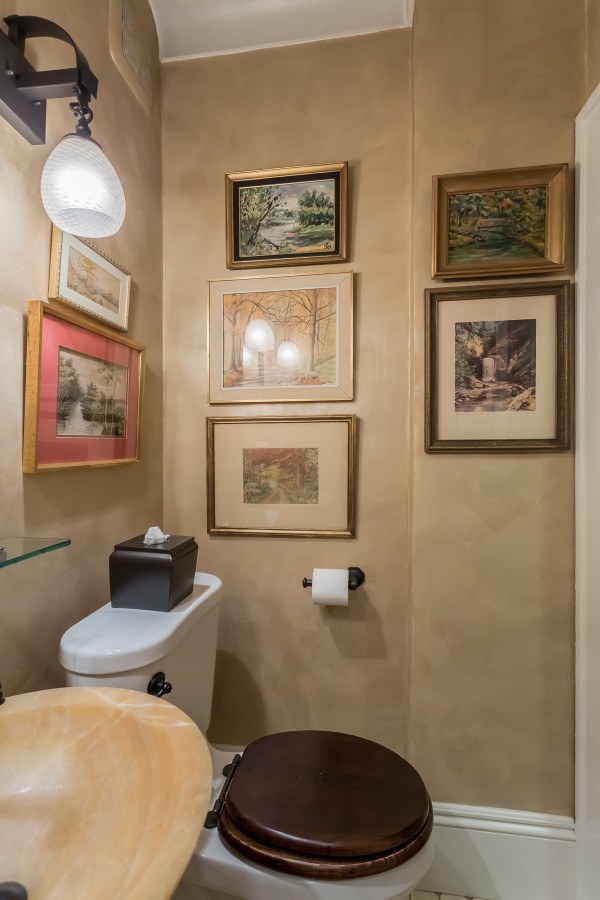
All of the art in this powder room above features forest scenes full of trees and water. Because they are all similarly themed, their frames and mats can be a bit different. ©Catherine Nguyen Photography
Maybe you want to display some of your children’s art?
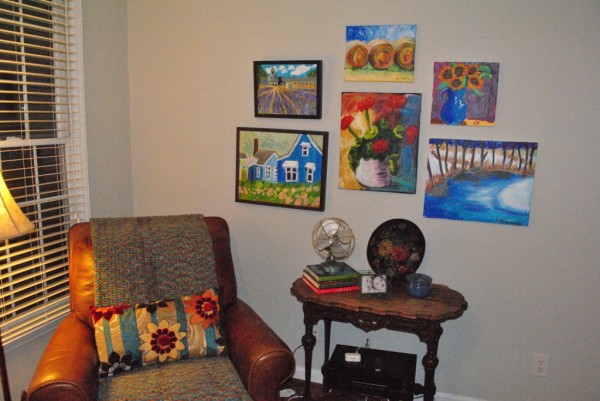
These are always some of our favorites…so happy and special!
Or maybe mat and frame everything similarly…
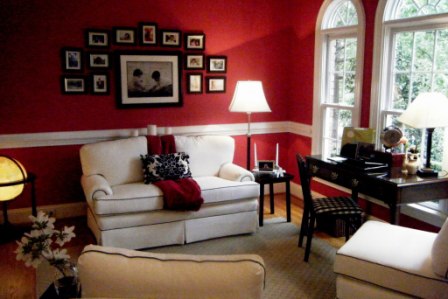
This wall grouping features black frames and white mats for a more unified, clean look. Added interest comes from the large central photo and alternating vertical/horizontal frames.
Second. So you’ve learned how to create a gallery wall but how the he!! do you hang everything?
Whenever we’re hanging gallery walls for our clients, we make sure to lay everything out on the floor first. We measure the space on the wall and create those same boundaries on the floor. We now know what we’re working with and start to place all of the photos/art/etc. As soon as we’re happy with our configuration, we’ll take a picture for reference and then find the center point of the entire grouping. Then we start hanging, typically working from the center outward. As you can see, layouts differ greatly depending on what pieces you’re hanging and what kind of feel you want to achieve. Some groupings are more linear, exact, and structured (like the black frames above) while others are more loose and have a more collected-over-time appearance like this…
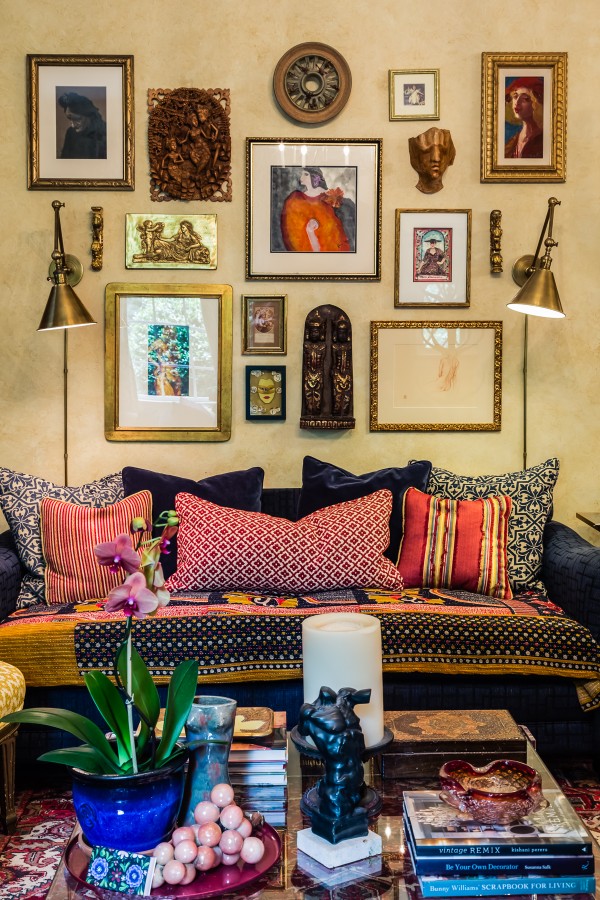
Although planned and laid-out beforehand, this wall grouping isn’t as structured in feel. Pictures aren’t perfectly centered over one another and instead seem to perfectly fit together in a more organic way. Notice the theme of “women” throughout and hints of gold. While this ties everything together, there is added interest thanks to many three-dimensional art pieces. All sorts of sizes, shapes, and textures entice you to come closer. When doing this type of layout, the key is balance. Make sure that large pieces on one side are balanced by something equally weighty on the other and that small items are distributed throughout. ©Catherine Nguyen Photography
Sometimes you just have to let the wall tell you what to do…
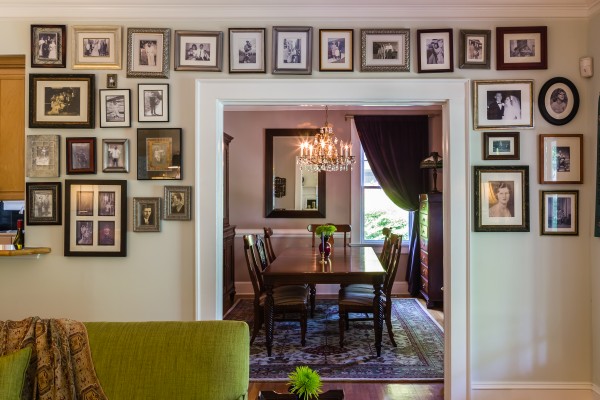
This small home didn’t have much wall space left for family photos…so around the cased opening they went. This makes for such a fun, homey feel and is pretty easy to lay out too. ©Catherine Nguyen Photography
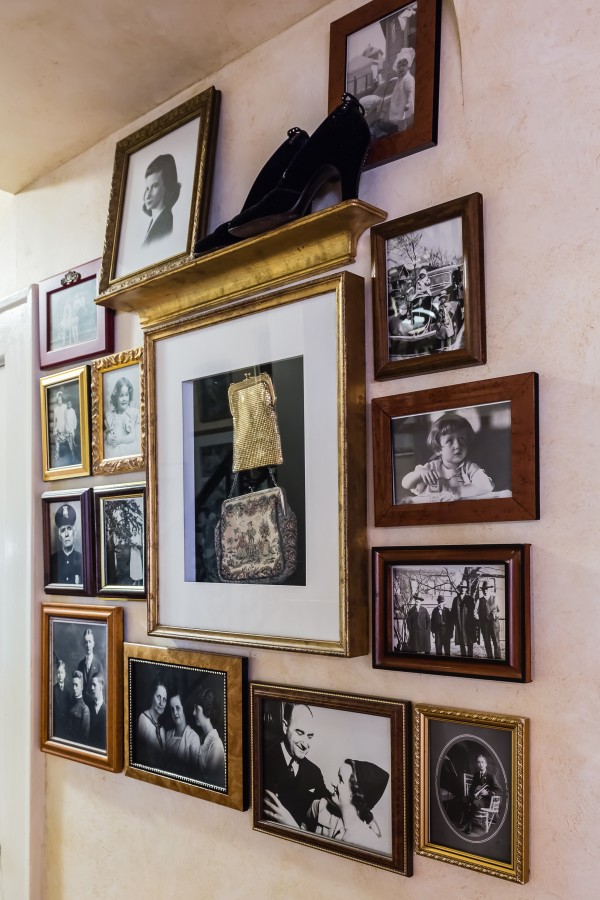
This tight wall didn’t allow for an expansive gallery wall. Carefully chosen black and white family photos and personal effects from beloved relatives create a wonderfully personal grouping. ©Catherine Nguyen Photography
Staircases are a popular place for gallery walls…
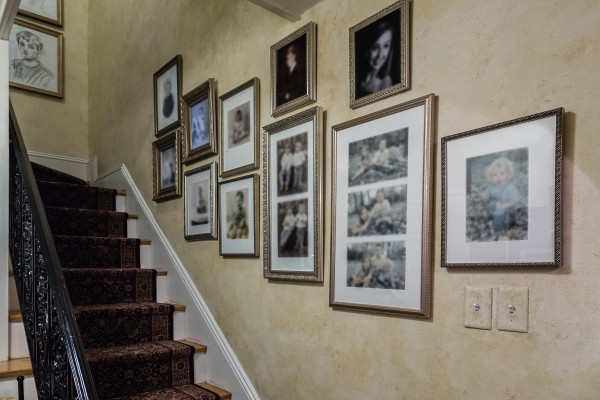
These are usually pretty easy to figure out…just move on up.
And sometimes you’ll want room to grow…
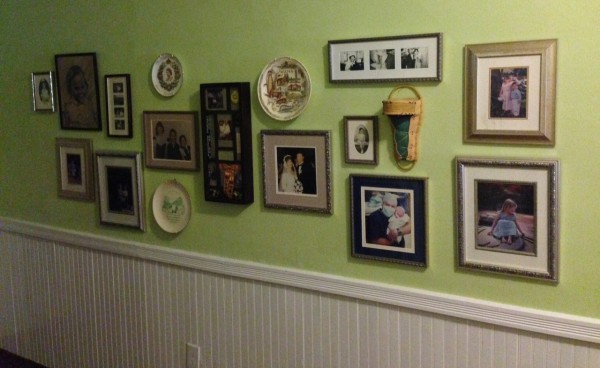
This gallery wall looks great as is, but we made sure to leave room above and to either side of the grouping to allow the family to add more later on.
The beauty of gallery walls is that no two are the same. Have fun and include pictures/memorabilia that mean something to you. Mix old and new or throw in a mirror or two. Mix in grandma’s favorite commemorative plate, an art project from your daughter’s first art class, or a funky woven wall hanging from the flea market. Think outside the box. And for more ideas on how to hang art read here.


[…] only very neutral pieces with simple frames in order to create one unified look. (Check out our blog post from a few months back for tips on how to create the perfect gallery […]